
Stripe Connect allows you to accept online payments directly from your clients through CounselMore. Once set up, you can create payment links and receive payments that are automatically transferred to your bank account.
CounselMore uses Stripe Express accounts, which provide a streamlined onboarding experience while giving you access to your own Stripe Dashboard for complete payment management.
What You'll Need
- An active CounselMore account
- A valid email address
- Business or personal information for identity verification
- Bank account details for receiving payments
Step 1: Access Your Accounting Settings
- Log in to your CounselMore account
- Navigate to Settings → Integrations
- Scroll to the Stripe section (if available)
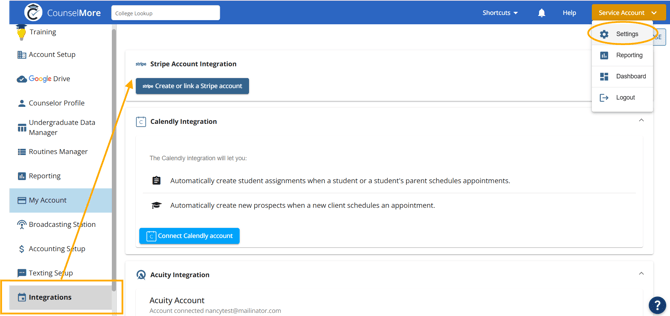
Step 2: Create Your Stripe Connect Account
- Click the Create or Link Stripe Account button
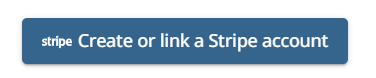
- CounselMore will create a Stripe Express account using your profile information:
- Business Type: Individual (default)
- Account Type: Express
- Your name (from your CounselMore profile)
- Your email address
- Your company name (if provided)
- Country: US
- Capabilities: Card payments and transfers
Note: The account is created automatically with a unique Stripe Connect ID (e.g.,
acct_xxxxx), but you'll need to complete onboarding before you can accept payments.
Step 3: Complete Stripe Onboarding
After your account is created, you'll see a Stripe Dashboard button: 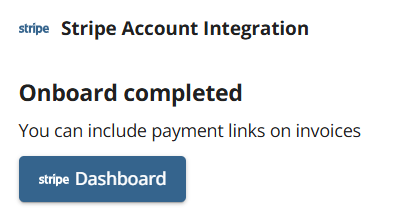
- Click Stripe Dashboard to open the Stripe verification process
- You'll be redirected to Stripe's secure onboarding flow
- Complete the required steps:
- Verify your identity (provide personal information)
- Add business details (if applicable)
- Connect your bank account (where you'll receive payments)
- Review and accept Stripe's terms
Important: You must complete all onboarding steps before you can accept payments. Stripe requires this information for regulatory compliance.
Complete Stripe Onboarding - Link Behavior:
- If the link expires or becomes invalid, you'll be redirected back to CounselMore
- Simply click Complete Stripe Onboarding again to dive back in
- The link is valid for a limited time, so complete the process promptly
Step 4: Access Your Stripe Dashboard
Once onboarding is complete:
- Return to Settings → Integrations → Stripe
- Click the Dashboard button to access your Stripe Connect dashboard
- The system will:
- Verify your account capabilities are active (specifically
transferscapability) - Generate a secure login link to your Stripe Dashboard (behind the scenes)
- Open the dashboard in a new window
- Verify your account capabilities are active (specifically
- From the dashboard, you can:
- View all transactions and payouts
- Update bank account information
- Manage payment settings and preferences
- Download tax documents and statements
- View detailed payment analytics
Payment Processing Timeline
- Payments are processed immediately when clients complete checkout
- Payouts to your bank account typically take 2-7 business days (depending on your bank)
- First payout may take slightly longer due to Stripe's verification process
After connecting your Stripe account through Settings → Integrations → Stripe Connect, you can begin accepting payments directly through your CounselMore invoices.
Sending an Invoice with a Stripe Payment Link
Once your Stripe Connect integration is active:
- Create or open an invoice in CounselMore.
- You will now see a new option to “Include Stripe Payment Link.”
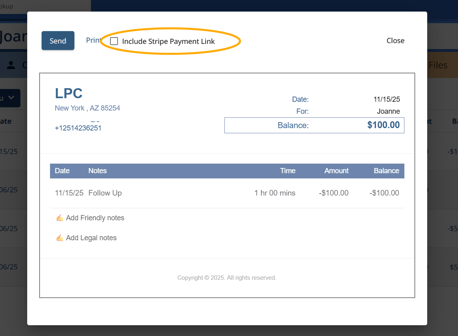
- Enable this option before sending the invoice to the family.

- Send the invoice as usual.
When this option is selected, a secure payment link generated by Stripe will appear in the invoice your client receives.
What Families See
When parents or students receive the invoice:
- The invoice email will include a Stripe payment link.
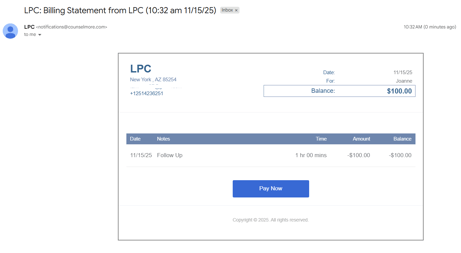
- By clicking the link, they can submit payment using their preferred method (credit card, debit card, etc.).

- Payment processing is handled securely through Stripe.
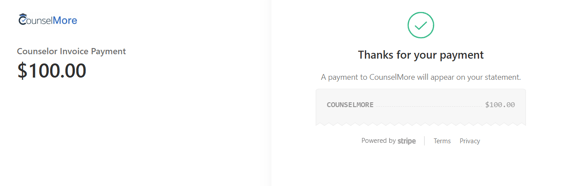
How Payments Sync Back to CounselMore
After the family submits payment through Stripe:
- The invoice is automatically marked Paid in CounselMore.
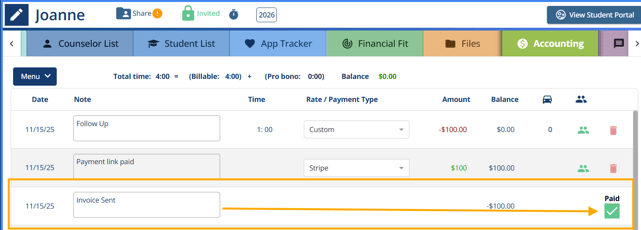
- A “Record Payment” line item is automatically added to the invoice to reflect the successful Stripe transaction.
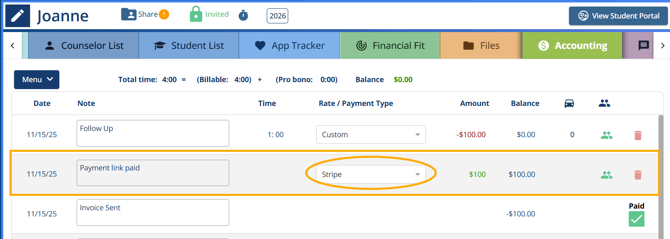
- Your Accounting tab updates in real time, so payment status and totals remain accurate without manual entry.
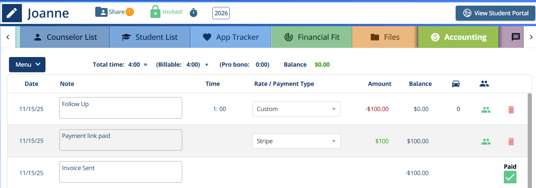
- No manual updates are required.
Viewing Transaction History and Balance
To review all payment activity processed through Stripe:
- Go to Settings → Integrations → Stripe Account Integration.
- Click Open Stripe Dashboard.
- Inside the Stripe Dashboard, you can view:
- Complete transaction history
- Payouts and available balance
- Processing details and receipts
This allows you to monitor payment flow, reconcile finances, and confirm deposits directly within Stripe.
💰 Accumulated total balance provides users the opportunity to grab the lowest possible transaction rates available!!
Additional Resources:
If you need help getting started, contact us at support@counselmore.com
Community Learning Events Hosted by CounselMore Members
Sample a meeting below where community members teach each other about invoicing, time tracking and follow up.